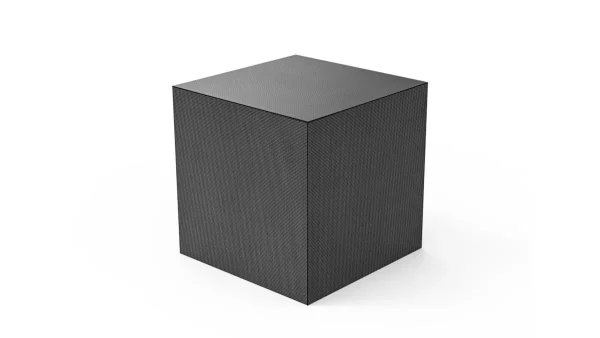
Баары бир жерде COB LED телевизору
  Ийкемдүү LED дисплейлер
  Тунук LED дисплейлер
  Led плакат
  Тегерек LED дисплейлер
  Чыгармачыл жана заказ боюнча жасалган LED дисплейлер
- Confirm mounting method өндүрүшкө чейин — base plates, hanging points, and cable exits are fabricated to match and are not field-optional.
- Assembly order: frame → corner locks → Block/Brick cabinets → power/data → content test. Skipping lock torque creates visible corner seams.
- Floor-standing cubes need tip-over checks and cable floor exits. Ceiling-hung cubes need primary-structure anchors rated to 3 × display weight.
- Column wraps reuse 4-face corner engineering around an existing pillar — survey dimensions before CAD (see AT&T pillar case).
- Structural drawings and load notes ship with DOIT VISION cube orders. CAD mockup in 72 саат; quote in 24 саат once config is locked.
Баштоодон мурун: Сайтты изилдөө талаптары
Cube installs fail at survey more often than at bolt-up. Collect this before the factory configures mounting hardware:
- Монтаждоо ыкмасы: Floor-standing, column wrap, ceiling-suspended, or desk/header.
- Footprint and height: Plan dimensions and finished height — from 0.5m side for standard 4-face builds.
- Floor load / tip risk: For freestanding cubes — slab capacity and whether a ballast base is required.
- Ceiling structure: For hung cubes — concrete slab, steel truss, or transfer from suspended grid to primary structure.
- Кубат жана маалыматтар: Dedicated circuit capacity and cable route into the volume (floor exit vs ceiling hub).
- Face count and surface: 4 / 5 / 6 faces; SMD vs COB — changes weight and service access. See face count guide жана SMD vs COB.
Base plates, hanging eyes, and internal cable glands are built into the CNC frame. Switching from floor to ceiling after the cube ships means rework or a new frame. Lock mounting in the PO.
Frame and Corner Lock Assembly
The CNC aluminium frame sets 90° geometry. Corner locks pull adjacent faces into plane. Soft corners = visible seams, especially at fine pitch.
- Dry-fit the frame on a level floor — verify square with a large framing square or diagonal tape measurements.
- Engage corner locks in the factory sequence (marked on drawings). Do not skip intermediate locks to “speed up.”
- Torque to drawing values — under-torque opens seams; over-torque can deform thin ribs on small cubes.
- Recheck diagonals after torque. Out-of-square frames will fight every cabinet you hang next.
Standard 4-face cubes from 0.5m side use Block or Brick cabinet geometry. Rectangular cuboids use the same locks with unequal plan sides.
Cabinet Mounting Sequence
Typical sequence for a floor-standing 4-face cube, two technicians:
- Mount first face — establish a reference plane; verify flatness before continuing.
- Mount adjacent faces — lock into corner hardware; check seam continuity at each corner.
- Close the fourth face — hardest seam if earlier faces drifted; adjust before final torque.
- Route power and data inside the volume per drawing — avoid pinched cables at corners.
- Power on and map — confirm every cabinet, then run corner test patterns.
5-face and 6-face builds add top/bottom faces after the vertical shell is square — or per custom drawing if the top face is structural. Those configs usually involve custom engineering / possible NRE.
Полго туруучу орнотуу
- → Factory-matched to footprint and weight
- → Anchor or ballast per site rules
- → Cable exit under or through the base
- → Tip-over calculation for public floors
- → Level shims if slab is uneven
- → Protect COB faces during roll-in (touch risk)
Floor cubes in museums and exhibitions often use COB on reachable faces — surface choice before install: SMD vs COB for Cube LED.
Шыпка асма орнотуу
Hung cubes use steel cables or rods from primary structure through a load-spreading plate. Design load = display weight × dynamic factor × 3 × safety factor — same principle as suspended rings.
- Anchor to concrete slab or steel truss — not a T-bar suspended ceiling grid alone.
- Level with turnbuckles after the volume is hung; lock before final content show.
- If a bottom LED face exists (5- or 6-face), confirm inverted module retention hardware on drawings.
Provide ceiling type and clear height at quote stage so hanging points ship correct.
Column Wrap Notes
Four-sided pillar wraps use the same corner locks around an existing column. Survey diameter (or plan rectangle), cladding thickness, and service clashes before CAD.
Mass-production pillar programs emphasise identical corner kits and DFM — see the AT&T 4 тараптуу LED мамычалуу массалык өндүрүш корпусу. For round columns without hard corners, you may want a cylinder LED instead of a cube wrap.
Орнотууга чейинки текшерүү тизмеси
-
Mounting method locked on POFloor, column wrap, ceiling, or header — matches fabricated hardware.
-
Factory drawings on siteFrame layout, corner lock sequence, torque values, cable routing.
-
Site structure verifiedFloor load / tip-over for freestanding; primary ceiling structure for hung cubes; pillar survey for wraps.
-
Power and data readyCircuit capacity and cable path into the volume confirmed.
-
Surface and face count confirmedSMD vs COB; 4 / 5 / 6 faces — weight and service access match drawings.
-
Content mapping files loadedPer-face resolutions ready on the processor before lift day.
-
Lift / handling equipment bookedTwo technicians minimum for mid-size cubes; protect COB faces during handling.
Техникалык мүнөздөмө боюнча колдонмо: Cube LED Buying Guide. Creative lineup: Чыгармачыл LED борбору · шакек · цилиндр.
Send mounting method, footprint, height, and ceiling or floor details. We return CAD and anchor notes within 72 hours and a line-by-line quote within 24 hours once the configuration is locked.